
Share This:
So you want to get started with morphology, but you don’t know where to start right? You know that your instruction in the upper grades is missing something, but no one has ever told you what to do. Of course phonics is important, but what do you do when your kids are past the basic single-syllable phonics decoding stage?
If this sounds like you, keep reading, because I’m going to let you know exactly how to get started teaching morphology.
To understand morphology, you need to understand morphemes. A morpheme is the smallest unit of meaning in a word. Where phonemes are sounds and graphemes are the letters that represent that sound, morphemes are directly connected to meaning. For example, -s is a morpheme that indicates plurality. Re- is a morpheme that changes a root word to indicate “back” or “again.” A morpheme is a word part that carries meaning.

Morphology is the study of those morphemes. It is when we look at the Layers of English—Anglo-Saxon, French, Latin, and Greek to help us understand word meanings and determine word spellings. In essence, morphology is key to understanding the English language. By studying morphemes, we are able to figure out the meaning of new words and facilitate comprehension for our students.
The good news is there isn’t a specified scope and sequence. The bad news is there isn’t a specified scope and sequence. When you teach morphology, you are free to choose the prefixes, suffixes, and roots that you think will benefit your students the most.
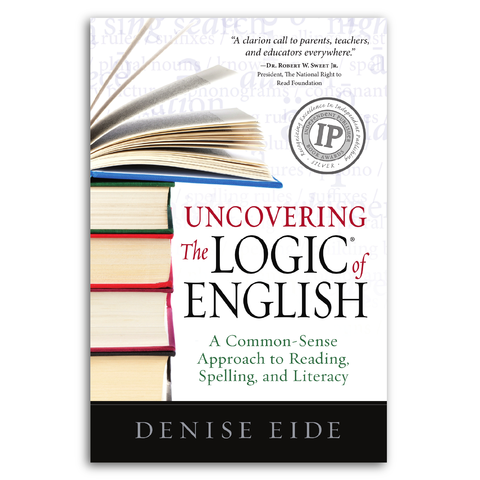
According to Denise Eide in Uncovering the Logic of English*, 9 prefixes make up 75% of words with prefixes. They are: un-, re-, in- (im-, ir-, il-), dis-, en- (em-), non-, in- (im-), over, and mis-.
Likewise, 10 suffixes make up 85% of words that contained a suffix. They are: -s and -es, -ed, -ing, -ly, -er (-or), -ion (tion, ation, ition), -ible (-able), -al (-ial), -y and -ness.
In the primary grades, we can easily introduce morphology by introducing -s, -es, -ing, and -ed. If children have mastery of those, then it will allow them to begin reading multisyllabic words and sentences that are not so contrived early on.
I always start with Anglo-Saxon with my own students. Anglo-Saxon affixes are the easiest for our students to understand. For example, the suffix -ful simply means “full of” and the prefix non- means “not.” These affixes are the most concrete for students, so they are the easiest entry into morphology. Even though some of the Anglo-Saxon morphemes may not be the highest utility, it may warrant using those to help students understand how parts of words can carry meaning.
For example, -ful is a high-utility morpheme, but not one of the MOST common. I like to teach it, thought, because it is really easy for children to see how hopeful means “full of hope,” where words like “rejection” which mean “the act of throwing back” are a lot more abstract.
Over 50% of our language comes from Latin, so in the upper-grades we need to ensure we are spending a lot of time teaching Latin prefixes, suffixes, and roots. Greek is the hardest and most abstract layer of our language. Only about 11% of our language comes from Greek, and this is often utilized in content-areas (think of words like biology and chronometer.) I wouldn’t begin teaching Greek until 5th grade or so.
When I am teaching morphology, I take the same approach I do when I am teaching basic phonics: my goal is to give students as many opportunities to read and write the morphemes as possible. If I expect children to orthographically map these words, they need to have a lot of practice with them. One day of introduction followed by homework and a test simply won’t cut it.
I start by reviewing morphemes in reading and writing. We then introduce a new skill (not everyday), and work to practice that skill. I detail each step below.
I always explain sound decks like this: think of it like your basic abc flashcards, but with way more cards. Essentially, when you are teaching morphology, you want to have flashcards with each of the morphemes you have taught. Every day, flip through those flashcards and ask students to tell you both how to pronounce the morpheme, AND the meaning of the morpheme.
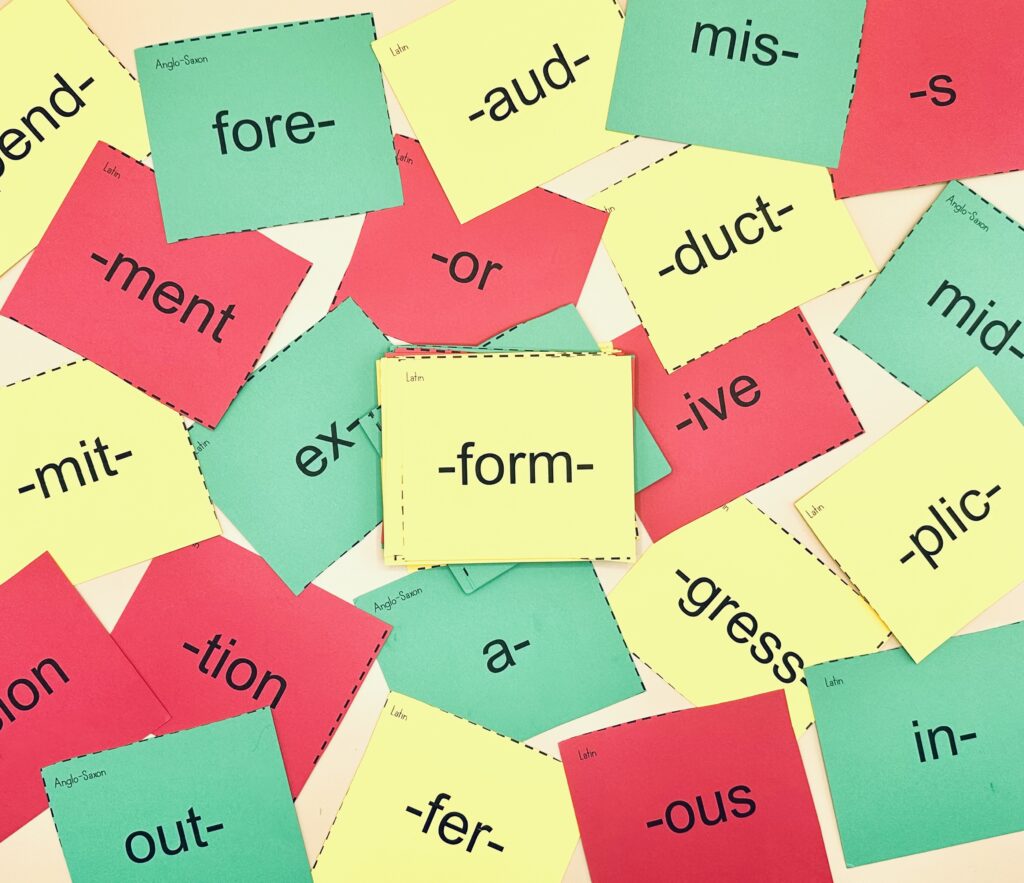
At one point I had 8 different physical decks for each of my intervention groups. It was becoming cumbersome and extremely difficult to keep up with it. So, I made PowerPoint versions and they have changed my instruction. I can now create custom sound decks for all of my groups in less than 5 minutes a week. The best part? The PowerPoint version is free!
I’ve even given a free webinar on exactly how I do it. So, if you want to get started with sounds decks, but you aren’t sure where to start, I highly suggest watching this 30 minutes video!
After you use your sound deck, it’s time to review reading. You can review reading in several ways. When I am teaching single-syllable words, we will often read from our decodable folders. Rereading connected text is a great idea. At this juncture for my students, however, they are reading more typical texts. You can have them reread from those, or explore a few other ways. I generally do a combination.
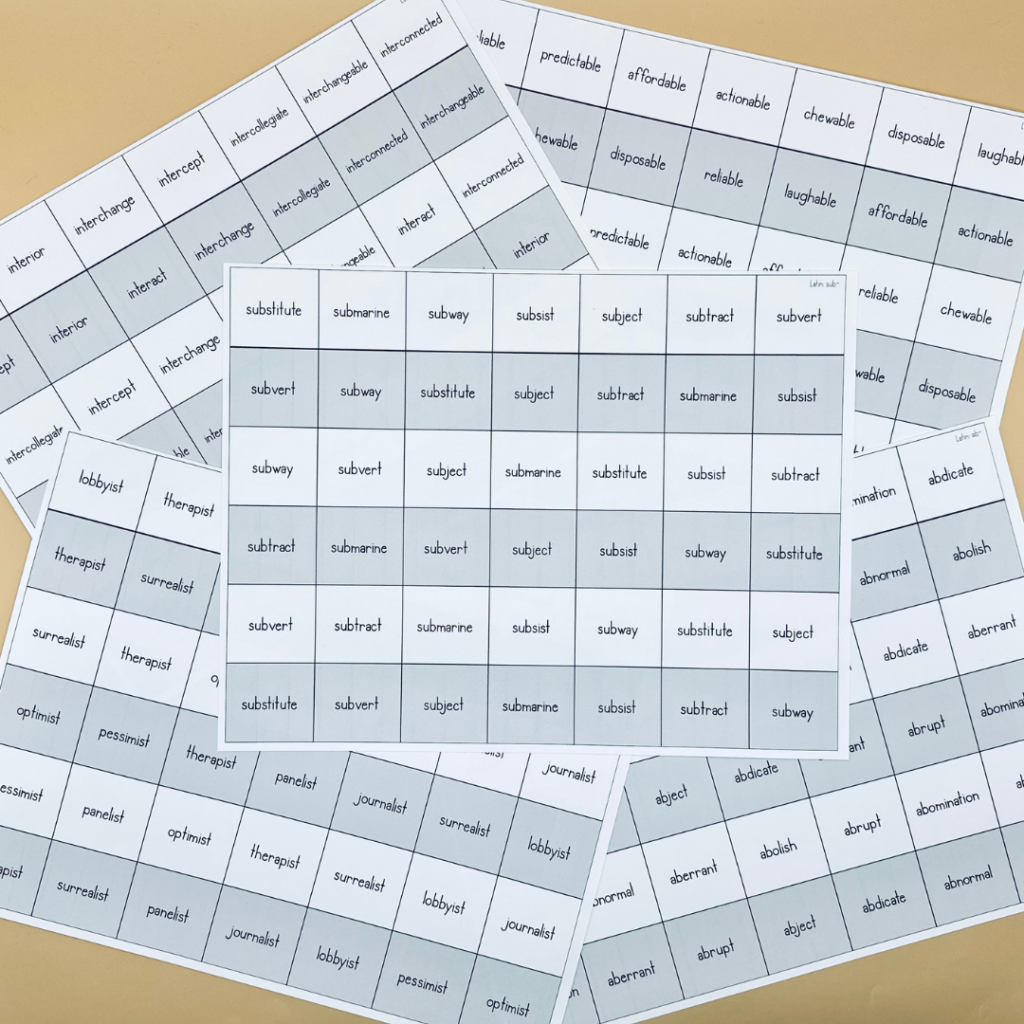
One way is with fluency grids. Fluency grids are intended to help students increase the exposure needed to orthographically map words. Essentially, there are 7 words in a row, and each row has the same 7 words in a different order. With the single-syllable fluency grids, we work mostly on automatic word recognition. With the morphology ones, I always want to ensure that we are discussing meaning as well. You could easily use a prefix, suffix, or root fluency grid to review a skill that you have taught before.
My favorite way to review, though, is with a review deck that includes a variety of words that include previously-taught sills. This is simply a deck of word cards that you flash through. The students must read the words as you prompt about meaning. Just like with the sound deck, I had tried to do this with physical decks. They were a pain, so I ended up making review PowerPoints. And let me tell you—they have been a game changer. I can update and change the PowerPoint with just a few clicks. Creating these review PowerPoints has given me back my planning!
When I was in college, I was taught that we never tell children what to write. If we tell children what to write, then our children will lose all creativity and the will to write. I followed all the rules I was told about letting children be writers, and guess what? At the end of the year I saw kids who loved writing but didn’t actually know how to write.
If we want children to be able to read and spell the morphemes we have taught them, we need to give them time to read and spell those particular morphemes. Dictation is a great way to have students practice spelling the patterns you have taught. I simply ask students to number their page 1-5. I then give them words that review the morphemes we have taught. For number 5 on their list, I will often ask them to write a dictated sentence. You can also increase engagement by using things like whiteboards or magnets, but its important to ensure your students are writing on paper each week (because that is ultimately what is required of them!)
When you are introducing a new rule, make sure you are explicit. If I am teaching a new affix, like “con,” I will explicitly state. “Today, we are learning a new prefix. This prefix is con. It means together or with.” I will then give them several examples that we read and discuss meaning.
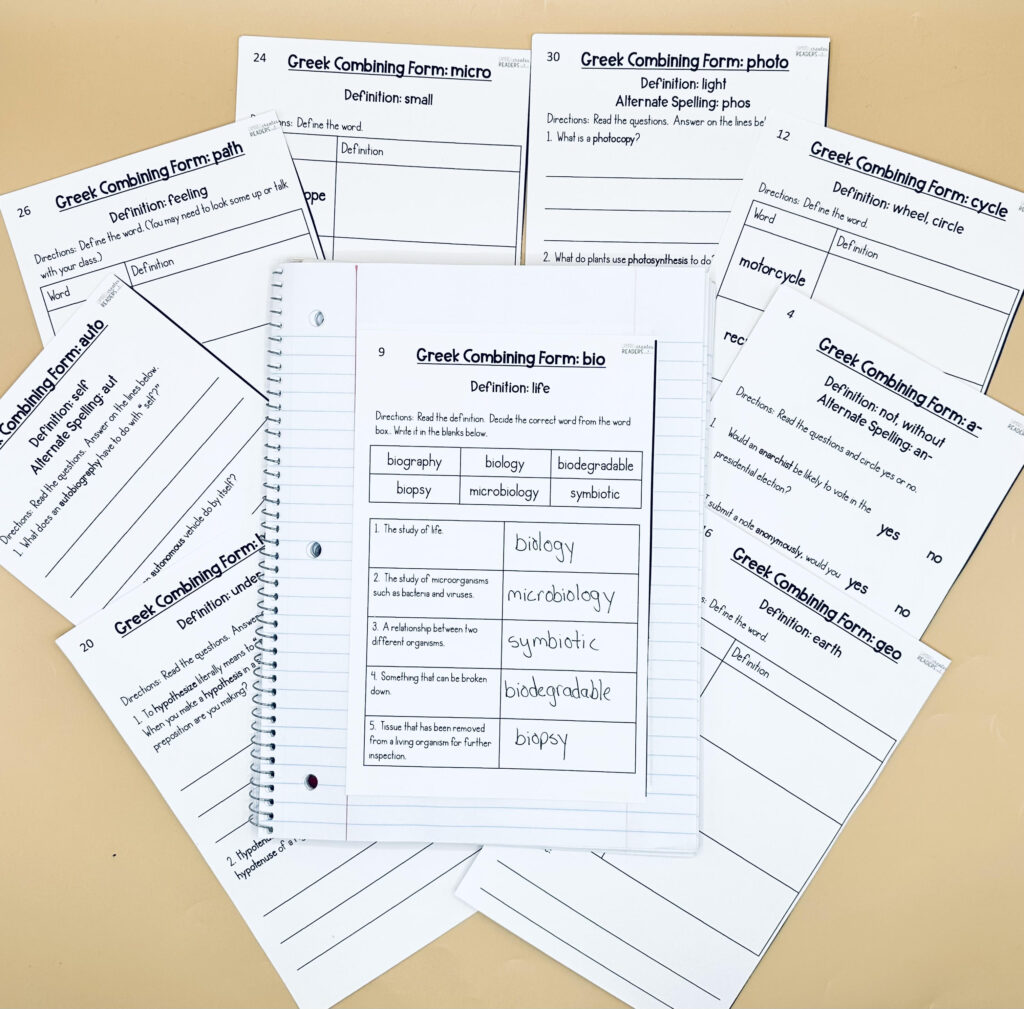
After I introduce the new rule, we pull out our interactive morphology notebooks and practice. My morphology interactive notebooks are prep-free and work to get at the meaning of the different affixes. They include the rule and the definition, so that students can use them as a resource after we have completed them.
I have yet to read any research that says “When a child can do x, y, and z, then you can move away from decodables.” When I first started teaching morphology, I did have some decodable stories that used those morphemes. What I was realizing, though, is that these students could actually read more traditional texts at this time. And since comprehension of traditional texts are the end goal, that’s where I have focused my attention. I use the fluency grids and review deck in isolation to review morphemes, but I do not limit myself to the texts I am using.
So, when I have a group that I am working on morphology with, I will often use traditional texts (mostly ones I find from ReadWorks). I have found that if children can decode single-syllable words and are moving into decoding multi-syllabic words, they are ready for this kind of instruction.
Below, I’m listing the resources that I use to teach morphology. I found that nothing out there really taught morphology the way it made sense to me, so I have spent the past year creating resources that work for my students and give me back my planning time. They can do the same for you.
When I think about morphology, I really see it as a continuation of phonics. In the primary grades, we work to teach children sound-symbol correspondences in mostly single-syllable words. As students get older, we are still teaching about words, we’re just moving away from sound-symbol correspondences towards meaning parts. In the end, though, it is still about improving that word recognition strand so students can have immediate, automatic access to words that they stumble upon.
*As an Amazon affiliate, I may earn a small commission for purchases made through my links. Your support helps fuel my content creation. Thank you for shopping and discovering amazing new resources with me. Also, I would never share anything that I don’t believe in with every part of me!
Share This:

Savannah Campbell is a K-5 reading specialist. She has taught her entire 12-year teaching career at the school she went to as a child. She holds two master’s degrees in education from the College of William and Mary. Savannah is both Orton-Gillingham and LETRS trained. Her greatest hope in life is to allow all children to live the life they want by helping them to become literate individuals.
Savannah Campbell is a K-5 reading specialist. She has taught her entire 12-year teaching career at the school she went to as a child. She holds two master’s degrees in education from the College of William and Mary. Savannah is both Orton-Gillingham and LETRS trained. Her greatest hope in life is to allow all children to live the life they want by helping them to become literate individuals.
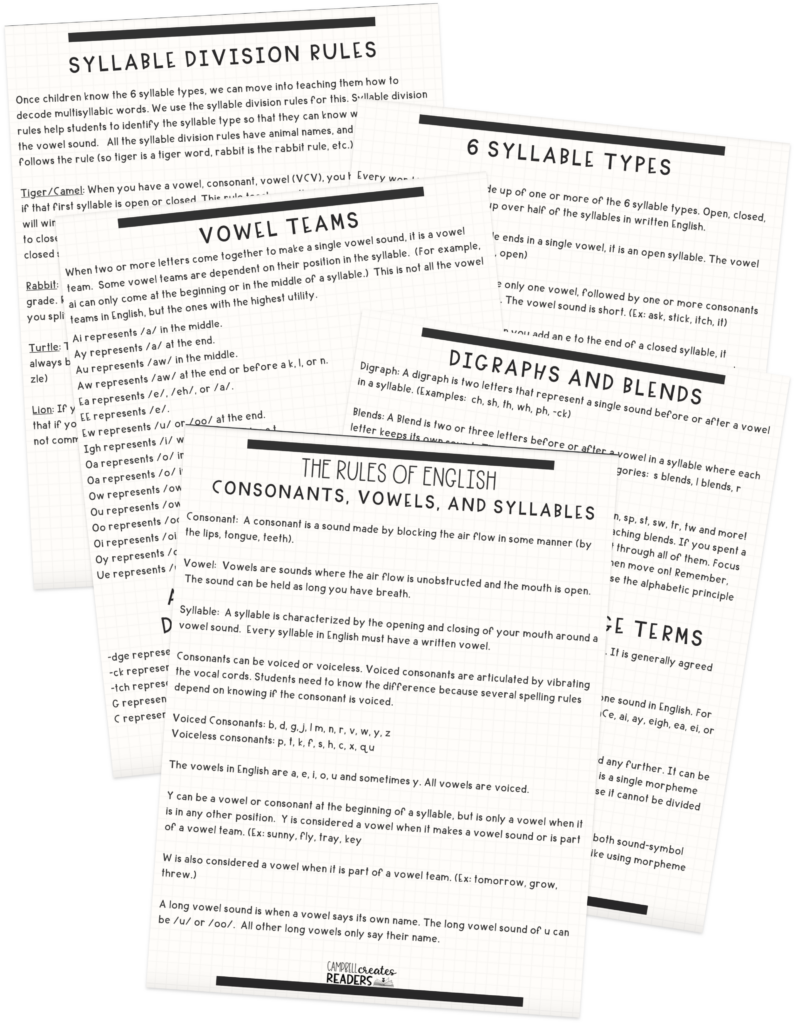
Feeling overwhelmed with all the terminology out there? Want to know the key terms all teachers need to teach phonics? In this FREE Rules of English cheat sheet, you get a 5 page pdf that takes you through the most important terms for understanding English—you’ll learn about digraphs, blends, syllable types, syllable divisions, and move. Grab today and take the stress out of your phonics prep!