Share This:
If you’ve followed me for a while, you know I’m big on one particular thing: giving children enough practice to become proficient readers. While nothing can take the place of reading connected texts, I’m always looking for ways to give shorts bursts of practice. A few years ago I began making fluency grids, and I never thought such a simple tool could make such a large impact.

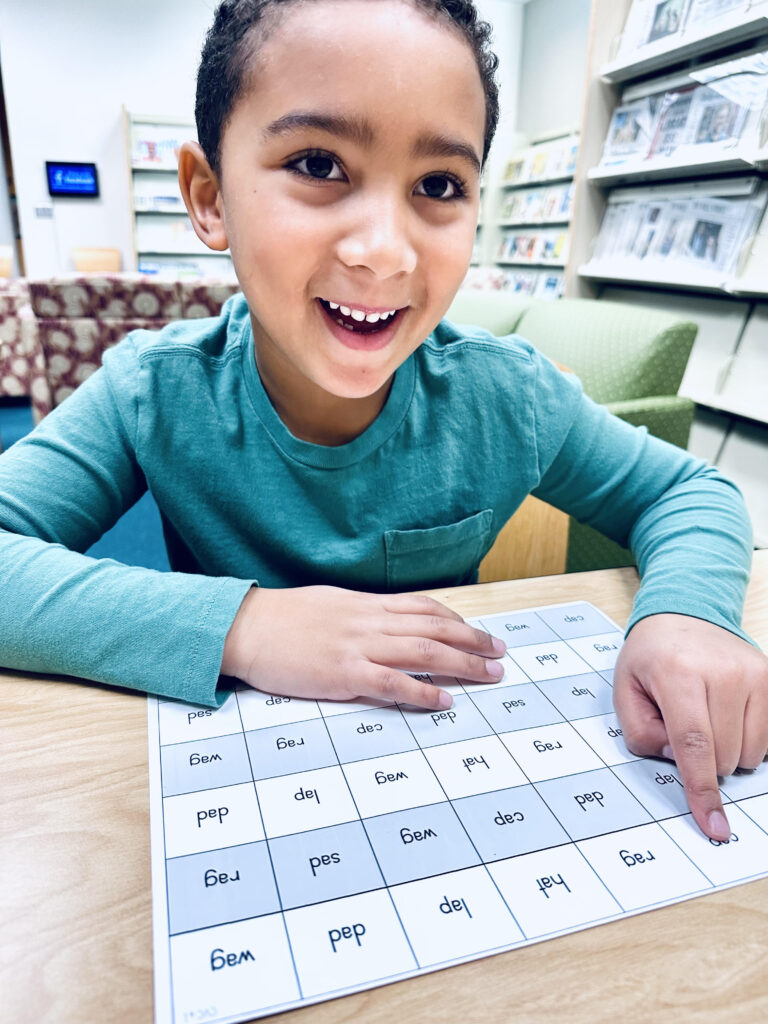
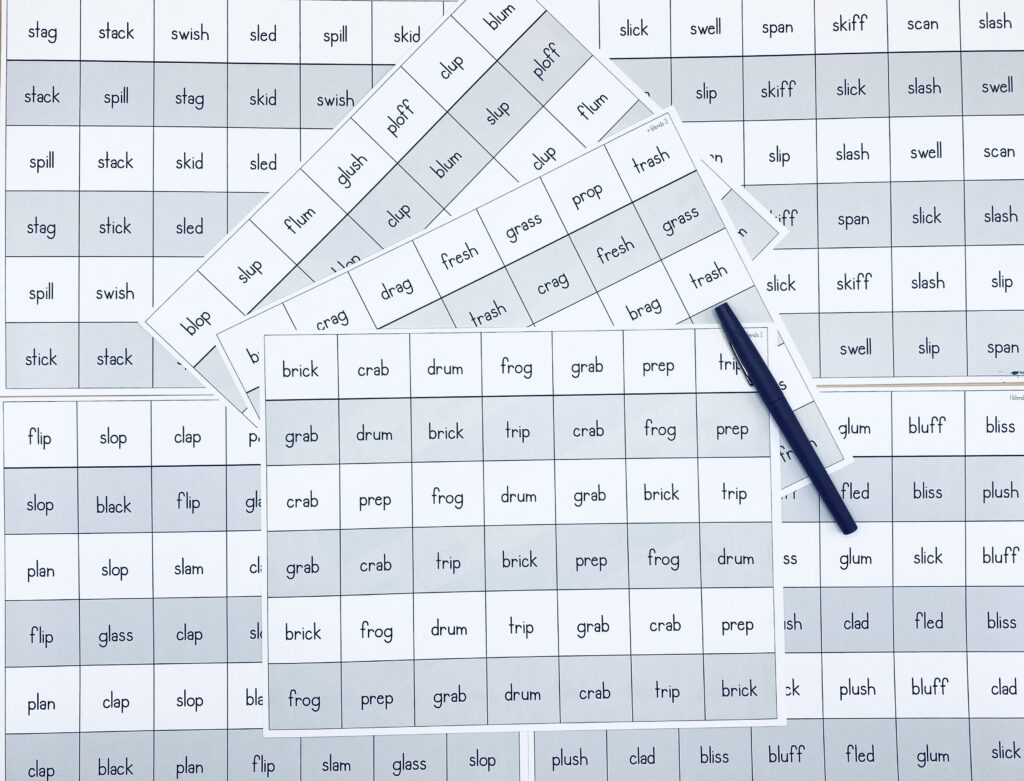
On the surface, a fluency grid is incredibly straightforward. A list of words in a table, repeated line after line in different orders. I have created 247 of them around different phonics skills. Children read each line, and it is amazing to see how students start by reading each sound and end the final row reading the words automatically.
I use fluency grids to give my students the number of exposures they need to orthographically map words. We know that most students will orthographically map words with between one and four exposures. Some children, however, can take hundreds of exposures to words. By using fluency grids, I am giving them many exposures to support that process.
I use fluency grids as practice when we are learning about a certain skill. Typically, I will echo read or choral read the first row. I model saying the sounds and blending to read the word. If we echo read the first row, we choral read the second. Then, I ask students to finish reading the entire sheet while I listen in to them.

When you first use fluency grids, it might seem overwhelming to students. There are a few ways you can change them up to make them seem less daunting. You can cut the papers into strips, and just ask children to read a single strip. Another option is to fold it like an accordion, so children only see one line at a time. Then, unfold the next line as students finish the one before it. If you wanted, you could even make a game out of it. Label each line 1-6 and have children roll a dice and just read the line they roll.
Eventually, however, I want my students to read the entire grid. Remember, it is about increasing the number of exposures, so a single line won’t cut it. It should take just a couple minutes, and I wouldn’t let students read past 5 minutes. I use fluency grids in small group, but they could technically be used in any instructional setting. So that students are not tripping each other up with their whisper reading, I’ll assign them different rows. I’ll ask one student to start with the white rows and the student next to them will read the gray rows. If they finish, they can go back to the start and read the rows they didn’t read the first time.
I use fluency grids every week, but I don’t use them with every group every day. They are just one tool I have in my instructional toolbox. I love using fluency grids as a quick warm-up for reviewing reading. I will often choose a previous skill that we have learned. They are also a great tool when first introducing a skill. Because they are at the word level, however, we need to always work to build up to the connected text level.
While fluency grids are great, don’t forget to use your decodables to give students practice at the sentence level!
So that’s it friends. Fluency grids are a simple tool that can have huge impacts for your students. Just remember, this should not be the only decodable reading students do in a day. Students must also be reading connected texts so they can have the amount of practice they need to become proficient readers.

Savannah Campbell is a K-5 reading specialist. She has taught her entire 12-year teaching career at the school she went to as a child. She holds two master’s degrees in education from the College of William and Mary. Savannah is both Orton-Gillingham and LETRS trained. Her greatest hope in life is to allow all children to live the life they want by helping them to become literate individuals.

Savannah Campbell is a K-5 reading specialist. She has taught her entire 12-year teaching career at the school she went to as a child. She holds two master’s degrees in education from the College of William and Mary. Savannah is both Orton-Gillingham and LETRS trained. Her greatest hope in life is to allow all children to live the life they want by helping them to become literate individuals.
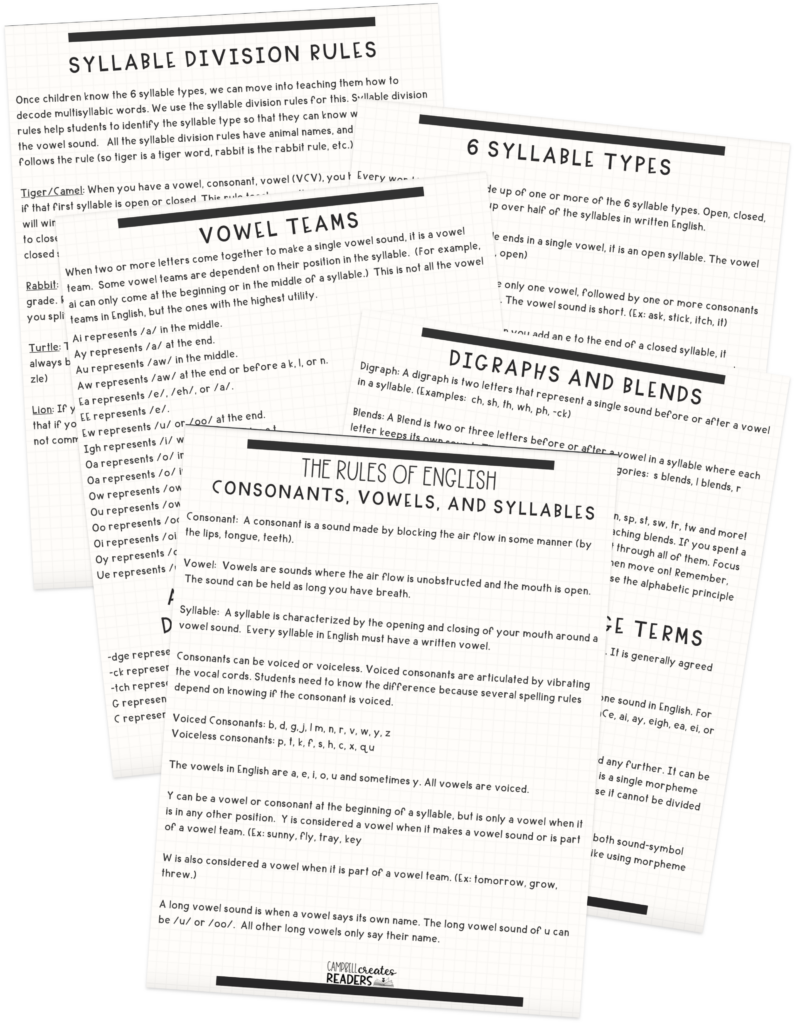
Feeling overwhelmed with all the terminology out there? Want to know the key terms all teachers need to teach phonics? In this FREE Rules of English cheat sheet, you get a 5 page pdf that takes you through the most important terms for understanding English—you’ll learn about digraphs, blends, syllable types, syllable divisions, and move. Grab today and take the stress out of your phonics prep!
