
Share This:
Have you ever wanted to make your own resources, but weren’t sure how to do it?
I’m going a bit out in left field for this blog. Normally I talk about instruction aligned with the science and provide ideas for different resources you can purchase. A lot of the times, purchasing something is just easier than having to make it on your own.
As we approach summer, though, I know many teachers have more time. So today, I want to show you how you can get started with making your own resources. If you are already a TPT seller, this will be nothing new. If you are just getting started, this could catapult you towards making your own resources for your classroom, or even to sell. I’m not going into the content as much as I will share with you the technical aspects of creating.
I make all my resources in PowerPoint. Some people prefer Canva, but I like sticking with PowerPoint for the actual creation of my products!
PowerPoint is superior to something like Word for making resources. This is because PowerPoint allows you to add multiple text boxes, images, etc. and move it wherever you want on the page. If you try doing the same thing in Microsoft Word, all your components are hard to format and you’ll end up raging at your computer screen. (No? Just me?)
The first thing you want to do each time you create a PowerPoint is change the slide size. The PowerPoint default is a size intended for displaying a slideshow. If you are making a resource that will be a slideshow, keep it! But printable resources need to be changed to properly fit a sheet of paper.
To change the slide sizes:
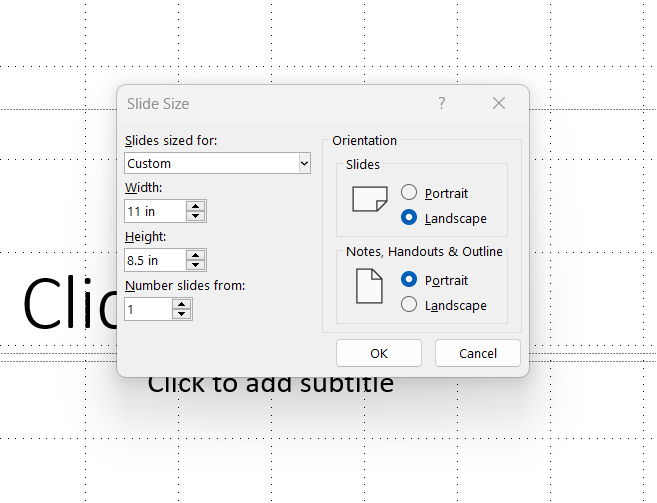
Once you have done this, your slides will be the perfect size for printing!
Good clipart is essential for making phonics resources. There are some places where you can find free photographs, but I have purchased the clipart I want. Phonics clipart is an investment, but it is something that you can use in a variety of different products over time.
My two favorite phonics clipart stores are Rainbow Sprinkle Studio and Educlips. I have multiple sets from both of these sellers and their clipart is top notch! I have found phonics clipart to be an investment that I use time and time again. Quality phonics clipart can be reused in so many ways.
The best free photograph collections are from Pixabay and UnSplash. Both of these websites are fantastic because the images can be used for commercial use for free (always make sure to check copyright before using in something that will be sold!). I don’t use photographs very often in my products, but I will use pictures from these sites on my blog and social media.
Once you have set up the proper dimensions for your resource and you’ve bought the clipart, it’s time to start creating.
Here’s the thing: it won’t be pretty at first. You will have errors; it definitely won’t be the cutest thing you’ve ever seen. But I’m a huge fan of done is better than perfect, and that we have to be okay with being kind of crappy if we ever want to get good at it.
Start by adding text boxes. If this is a worksheet, make sure you add a textbox with a spot for the student’s name. Include written directions when applicable. Other than that, the sky is the limit. Don’t be afraid to make mistakes because you can always alter later. If I am working on a resource that will be copied over multiple pages (like my phonics notebooks or my fluency grids), I will create a template, put x where all of the text will be, and copy it multiple times. This gives me the framework for the remaining pages I’m creating.

Remember that you want activities to reinforce the skills you’ve taught students. That is always going to be your main priority. If you are making an activity about a certain skill, consider including other skills so that students do not overgeneralize. For example, whenever I make magic e, I incorporate short vowel words as well so that students do not always think they will need a magic e on the end.
I’ve made a lot of mistakes over the years, and one that still makes me cringe? USING CUTESY FONTS. I used to have a math test with a flower theme and I used flowery fonts. The end result was that the teachers could barely read it, much less the students!
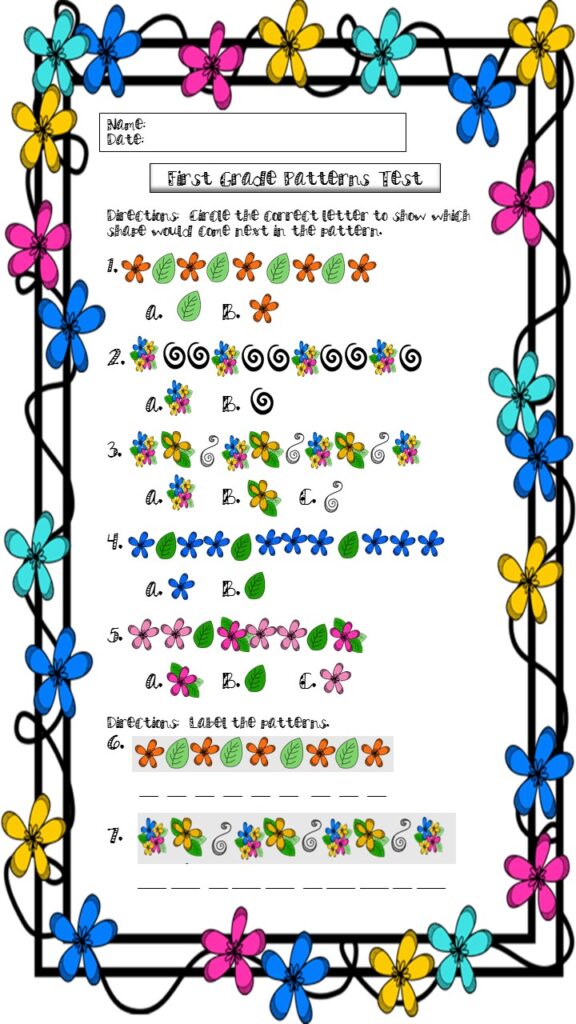
Cutesy cannot overshadow function. If your worksheet is full of cute clipart, it could take away from the content. I rarely use clipart for decoration. Most of the time, I prefer a simple format without excess clipart.
I wanted to give you an overview of the technical aspects of making a product. I remember when I started in 2016, I had no idea how to make anything. If it hadn’t been for someone at my school teaching me, I don’t think I’d have the business I have today. So thank you Sherri Miller for being the person who started me on this journey.
If you have specific questions, please feel free to e-mail me at [email protected]. I don’t mind talking things out with you!
Share This:

Savannah Campbell is a K-5 reading specialist. She has taught her entire 12-year teaching career at the school she went to as a child. She holds two master’s degrees in education from the College of William and Mary. Savannah is both Orton-Gillingham and LETRS trained. Her greatest hope in life is to allow all children to live the life they want by helping them to become literate individuals.
Savannah Campbell is a K-5 reading specialist. She has taught her entire 12-year teaching career at the school she went to as a child. She holds two master’s degrees in education from the College of William and Mary. Savannah is both Orton-Gillingham and LETRS trained. Her greatest hope in life is to allow all children to live the life they want by helping them to become literate individuals.
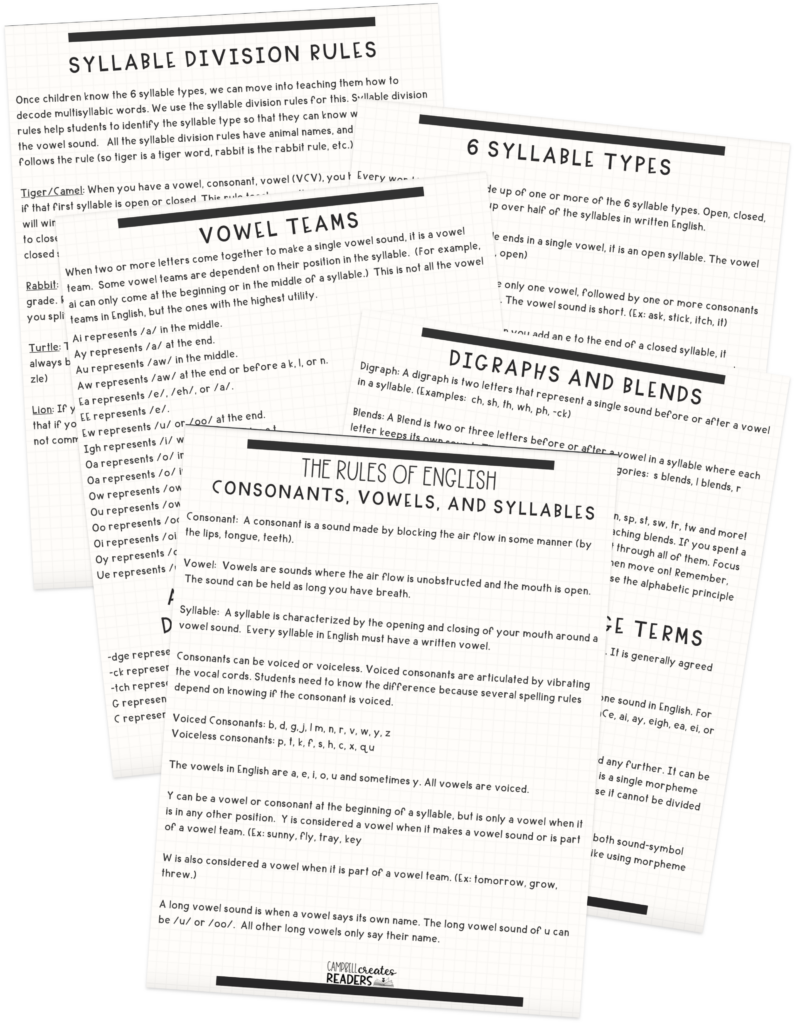
Feeling overwhelmed with all the terminology out there? Want to know the key terms all teachers need to teach phonics? In this FREE Rules of English cheat sheet, you get a 5 page pdf that takes you through the most important terms for understanding English—you’ll learn about digraphs, blends, syllable types, syllable divisions, and move. Grab today and take the stress out of your phonics prep!